The primary survey check is a safe methodical approach, used to find out vital information aiding in professional help. The 5 step process helps quick identification of life threatening conditions. This follows a logical process follows a mnemonic of DRABC.
- Step 1. Danger, always view the surrounding environment to check for your safety.
- Step 2. Response, there are many ways to obtain responses from an injured person/s.
- Step 3. Airway, inspections need to identify any potential or present blockages.
- Step 4. Breathing, is there optimal flow of oxygen into body.
- Step 5. Circulation, is there sufficient levels of oxygen being passed around the body.
Step 1 Danger
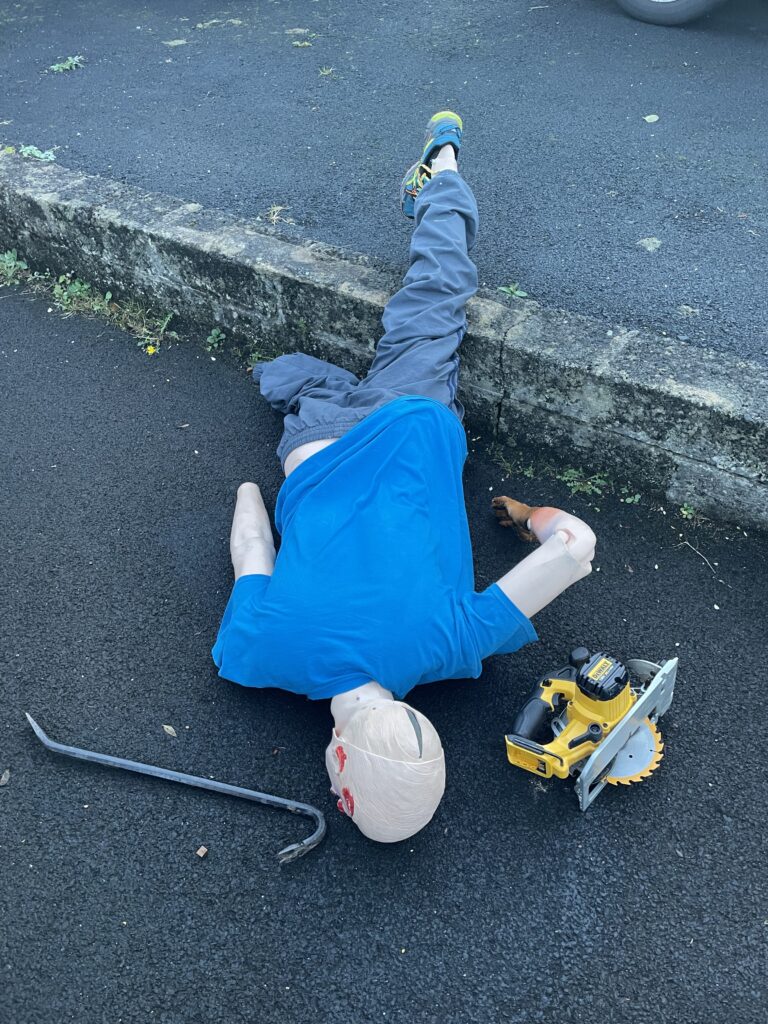
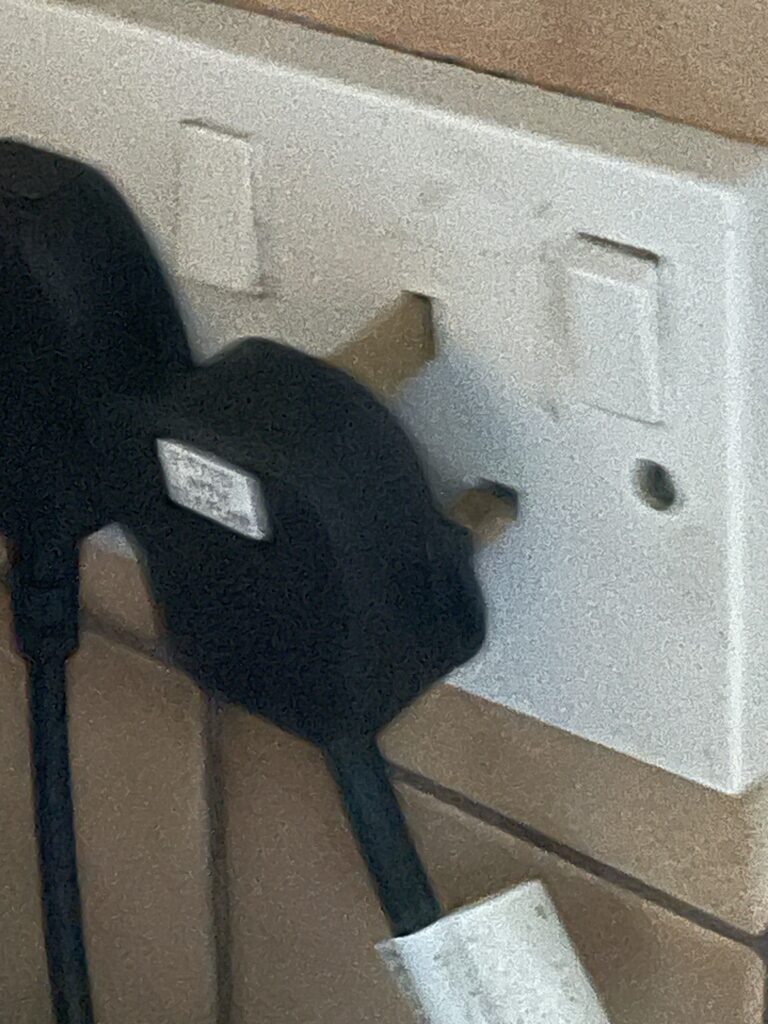
During step 1 of the primary survey check focuses on danger, there are many possibilities that present. While conducting a survey it is important to use your 6 senses to extrapolate information.
- Sense 1 – Sight, how many people do I see? Can I see wet floors or cables laying around?
- Sense 2 – Hearing, can I hear machines running or groaning under rubble or behind doors?
- Sense 3 – Smell, can I detect any spilt fuels around me?
- Sense 4 – Touch, are there temperature changes on items around me and I can feel heat or cold?
- Sense 5 – Taste, is there a chemical smell in the air around me?
- Sense 6 – Intuition, do I sense a tingling in my spine, the hair on my neck stand up or have a funny feeling in my stomach?
Using the mnemonic STOP always apply your senses.
- S – Safety, what threats are currently around me?
- T – Think what can present as I move in or change around me?
- O – Observe the incidnert and process the information, What can I deal with?
- P – Proceed if safe to do so, do I need professional help?

Step 2 response
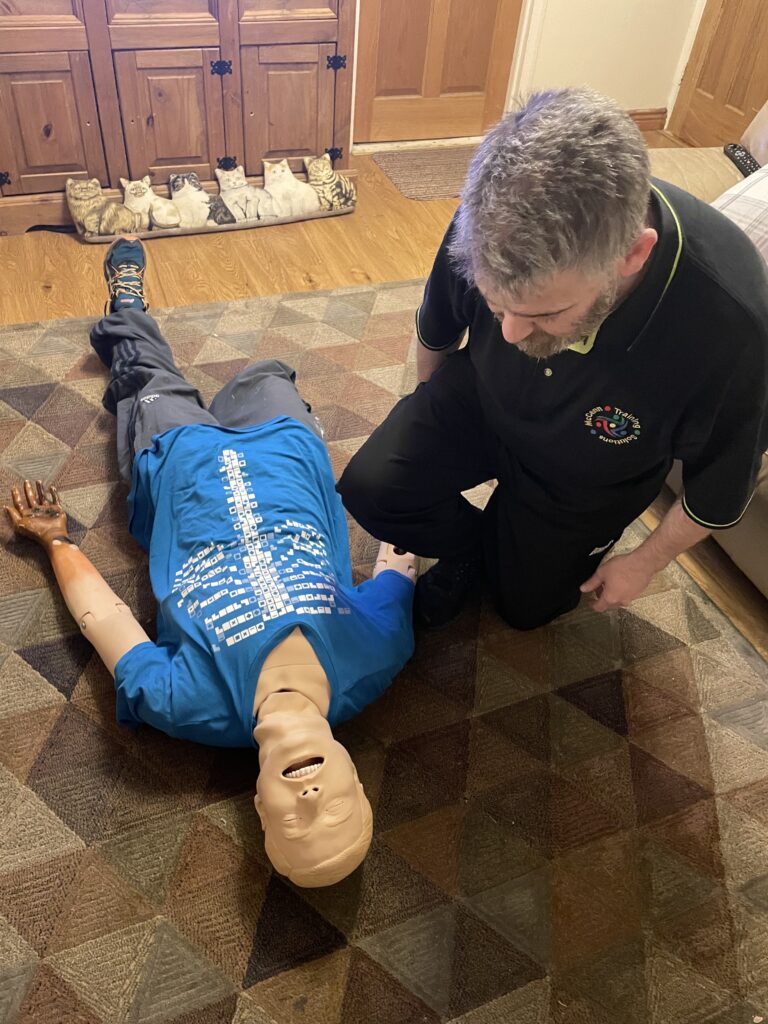
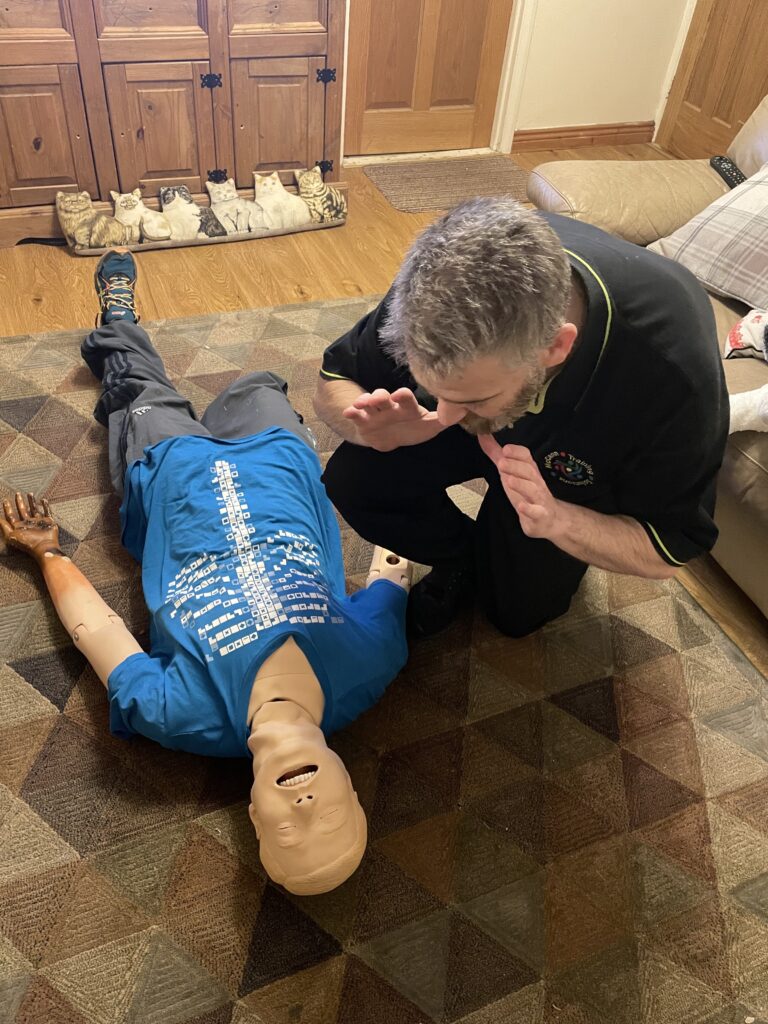
Step 2 allows you to gain a response, gaining responses from injured people can present in different ways. This could be visual where they respond in sight. Another way is verbal, can they hear you and speak back. It may be possible to respond by your presence and touch. The person may not be avle to respond at all. In first aid another mnemonic used is AVPU
- A – Alert, do i witness spontaneous eye movement or blinking as I approach.
- V – Voice, does the patient respond to an open question, where are you or whats your name?
- P – Physical, when i place my hands and laydown pressure does the patient respond?
- U – Unresponsive – Is ther no witnessed movement from any stimuli?
Step 3 Airway
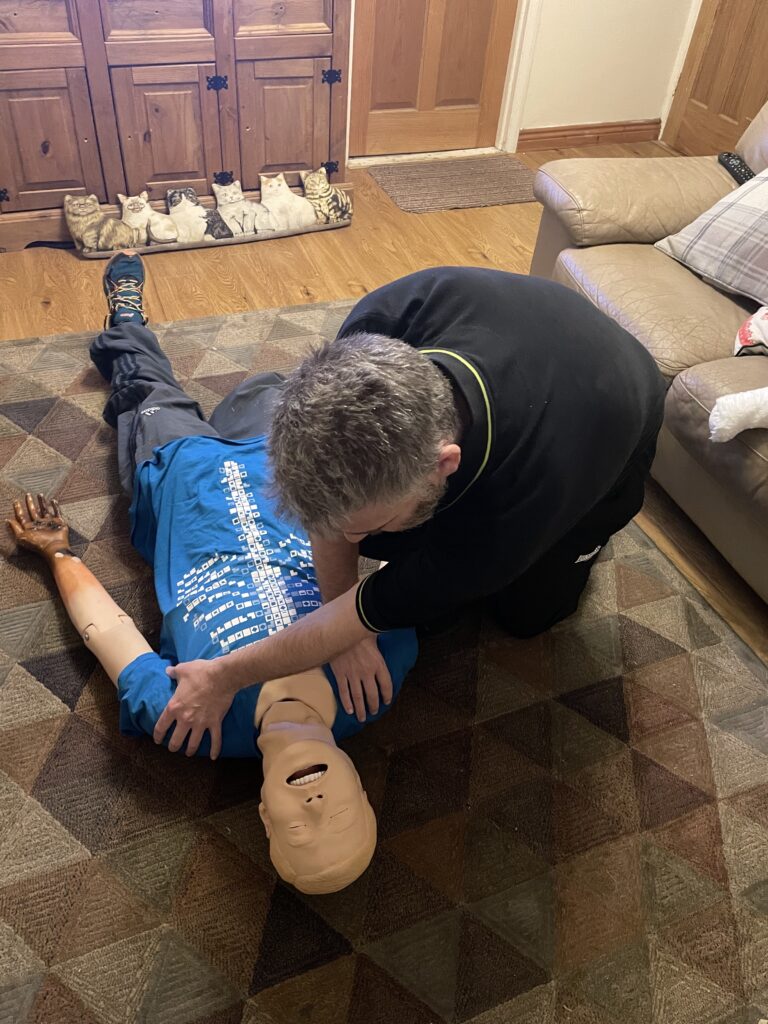
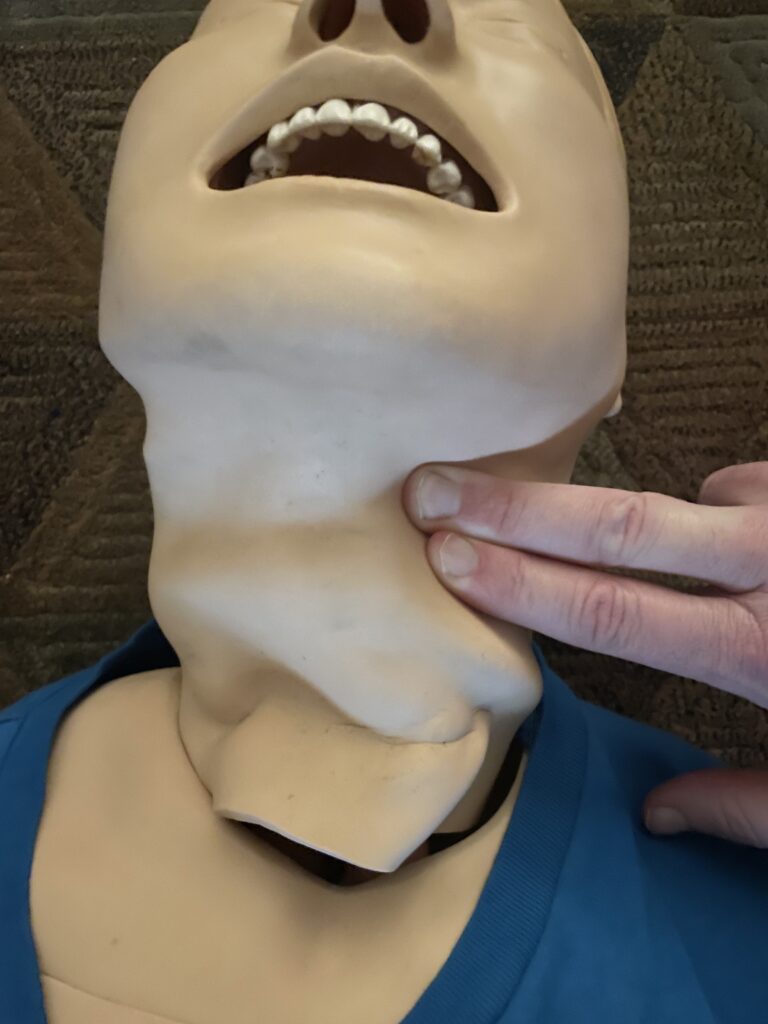
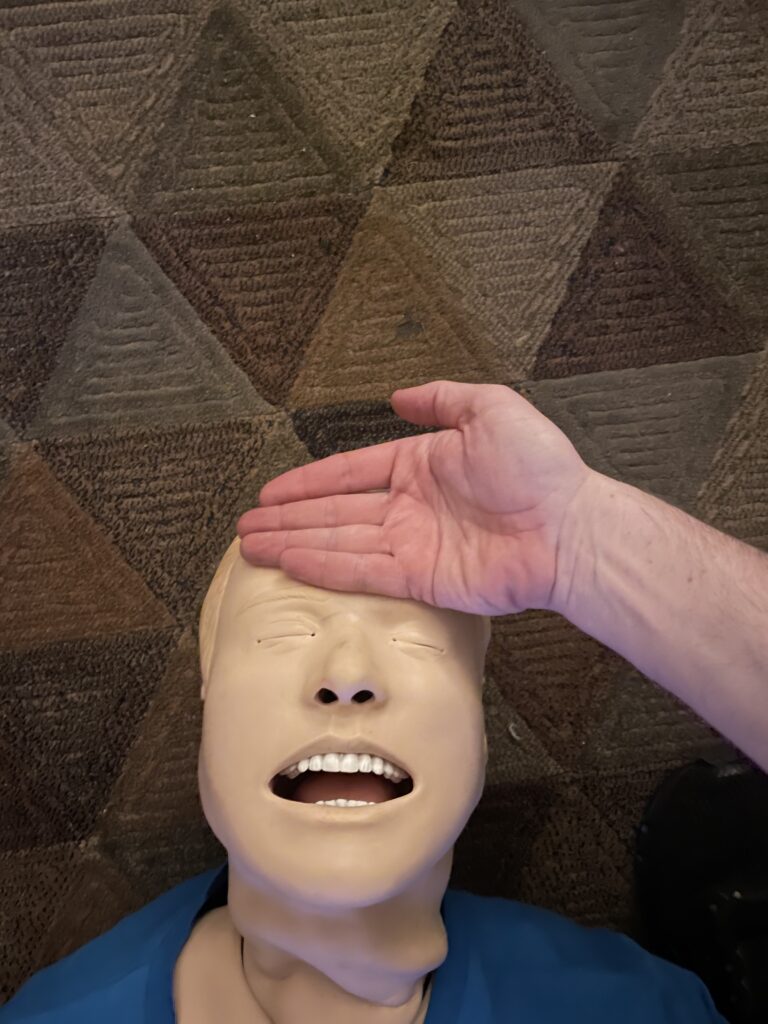
The airway check in step 3 is an important check. As it stands your airway is a circular cartilage shaped tube, approximately the width of your small finger. The entrance to this is located st the top of your chest bone (Sternum). If blocked air can not enter the lungs, this will result in oxygen supply being cut to the body. The effec ts of this cause heart and brain tissue to die, this unfortunately is irreversible. Offending items oftenly include the tongue, vomit, blood or teeth. To open a patient’s airway to inspect I conduct a 3 stage process.
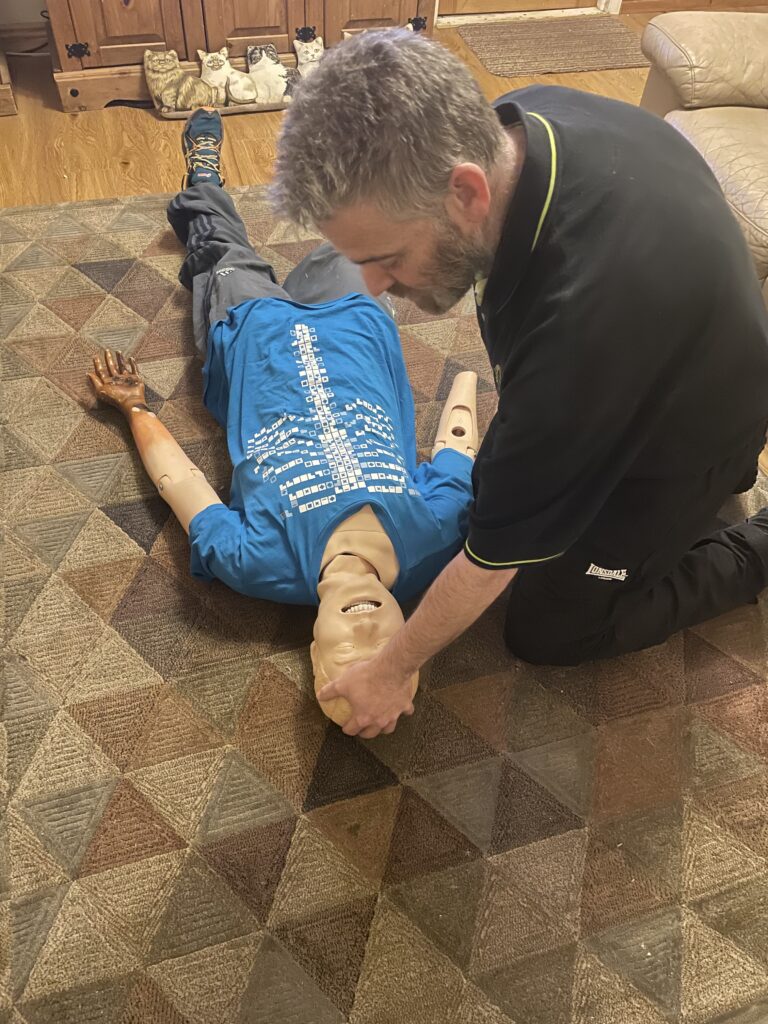
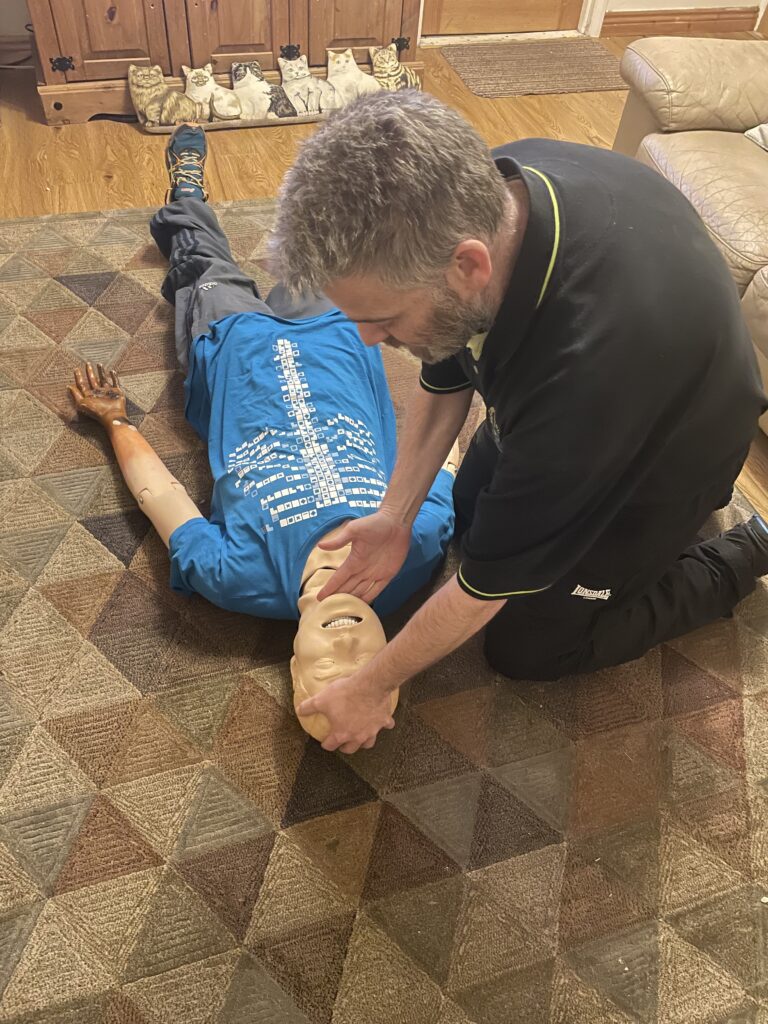
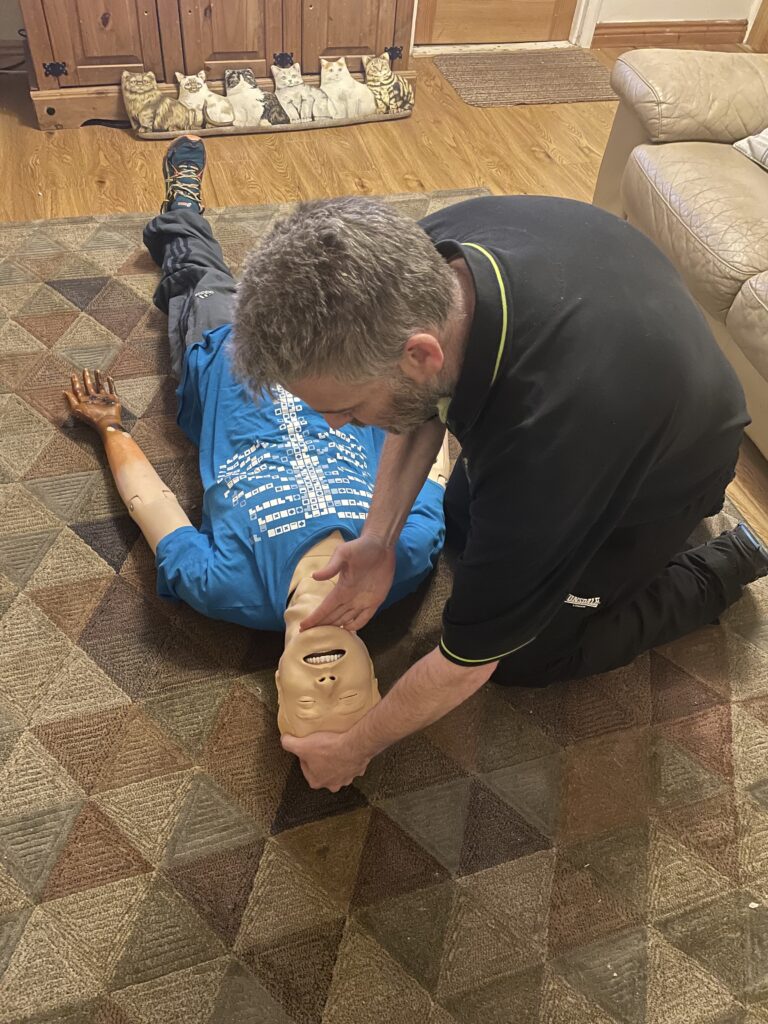
- Stage 1 – Place the heel of your hand on the patients forehead.
- Stage 2 – PLace your fingers of the opposite hand underneath the patients chin.
- Stage 3 – Applying downward pressure on the persons forehead, lift the chin and extend the head backwards.
Step 4 Breathing
Step 4 breathing checks are conducted to monitor optimal intake of oxygen. There is a 3 stage technique (often referred to as look, listen & feel). This is used to ascertain adequate intake of oxygen & output of carbon dioxide.
- Stage 1 – Look for the rise and fall of the chest.
- Stage 2 – Listen for breath sounds in the ear.
- Stage 3 – Feel the movement of air against your facial skin.
Whilst this is the preferred technique & procedure chest movement can be difficult to detect. This is equally hard in cold environments or where certain personal protective equipment (PPE) can hinder. Alternatively place the back of your hand onto the patients diaphragm and observe a patternable rise and fall over 10 seconds. An observation of 2-3 breaths in 10 seconds is optimal. If breathing is absent cardiac arrest will follow & CPR must commence. If breathing is present the person is unconscious.
Step 5 Circulation
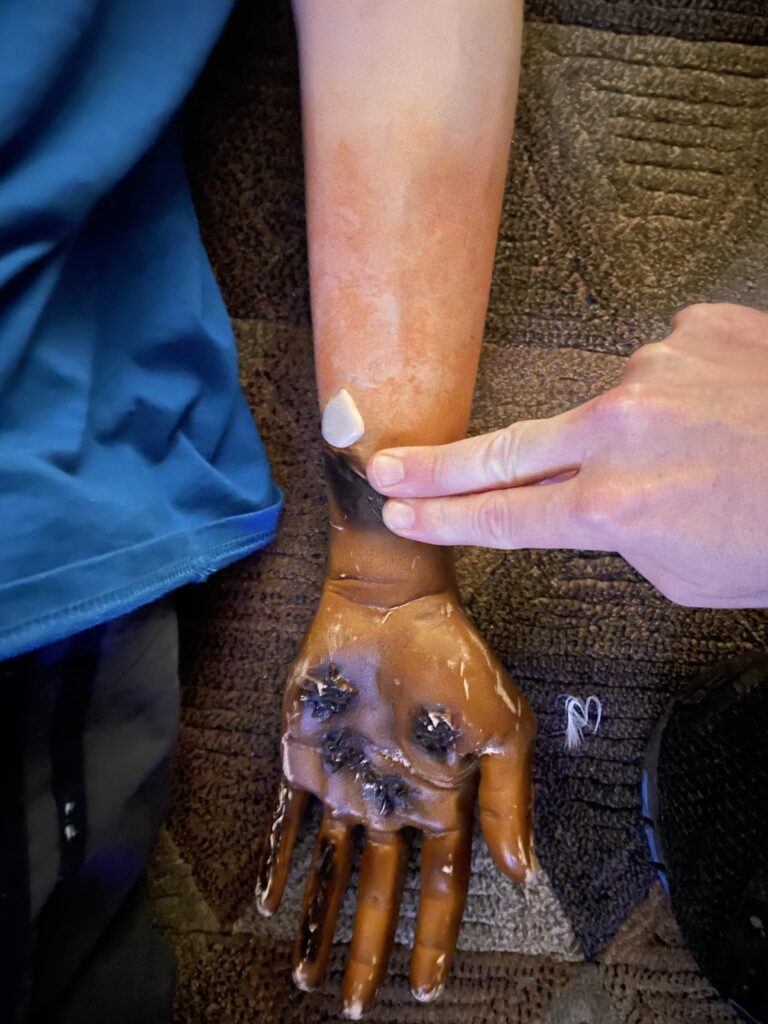
Circulations is step 5, here were trying to establish that the passage of oxygen through the body is achieved. Checking pulses can help to achieve this. The radial pulse is located on the wrist approx 1 inch back from the base ot thumb. Alternatively the carotid pulse is located both sides of the wind pipe in the neck. Either or just press down with fingers onto the skin. Other injuries can hide pulses so be wary. Skin colour along with temperature also aids in this. That ends the primary survey check.
5 Steps in Primary Survey
- Step 1. Danger, always view the surrounding environment to check for your safety.
- Step 2. Response, there are many ways to obtain responses from an injured person/s.
- Step 3. Airway, inspections need to identify any potential or present blockages.
- Step 4. Breathing, is there optimal flow of oxygen into body.
- Step 5. Circulation, is there sufficient levels of oxygen being passed around the body.
All of these techniques are covered in courses like Basic Life Support.
“You can’t change what happens, you can change what you do about it”
Danny McCann – mccann training solutions